
Graphic tablets have revolutionized the world of digital art, enabling artists to create intricate designs with ease. If you are new to using a drawing graphic tablet on a computer, this guide will help you get started and make the most out of your device.
Getting Started
Before diving into the artistic aspects, it is essential to set up your graphic tablet properly. Here\’’s a basic checklist to guide you through the initial setup process:
| Step | Action |
|---|---|
| 1 | Unbox your graphic tablet |
| 2 | Install necessary drivers |
| 3 | Connect the tablet to your computer |
| 4 | Configure tablet settings |
| 5 | Install drawing software |
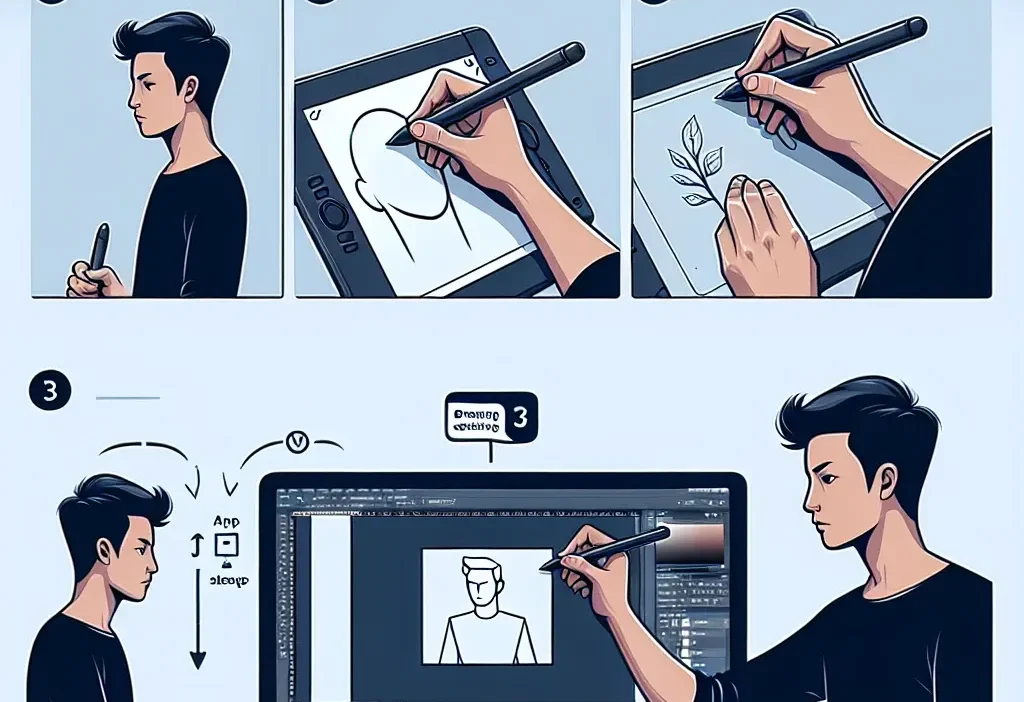
Step-by-Step Guide
1. Unbox Your Graphic Tablet
Start by unboxing your graphic tablet and familiarizing yourself with the components. Most tablets come with a stylus, cables, and sometimes extra nibs for the stylus.
2. Install Necessary Drivers
Drivers are crucial for the tablet to communicate with your computer. Visit the manufacturer\’’s website to download the latest drivers. Follow the installation prompts to complete the process.
3. Connect the Tablet to Your Computer
Once the drivers are installed, connect your graphic tablet to the computer using the provided USB or Bluetooth connection. Ensure that the computer recognizes the device.
4. Configure Tablet Settings
After connecting the tablet, configure the settings according to your preference. This includes adjusting the pen pressure sensitivity, button customization, and screen mapping.
5. Install Drawing Software
Good drawing software is essential for digital art. Popular choices include Adobe Photoshop, Corel Painter, and free alternatives like GIMP and Krita. Install your preferred software and explore its features.
Basic Techniques
1. Understanding Pen Pressure
Graphic tablets offer varying levels of pen pressure sensitivity. This feature allows you to control the thickness and opacity of your lines based on how hard you press the stylus on the tablet. Practice different pressure levels to master this skill.
2. Customizing Shortcuts
Most graphic tablets come with customizable buttons that can be programmed to perform specific actions. Set these shortcuts for frequently used tools in your drawing software to speed up your workflow.
3. Using Layers
Layers are fundamental in digital art, offering flexibility and control. Learn how to use layers in your drawing software to separate different elements of your artwork, making it easier to edit and refine.
4. Brush Settings
Experiment with different brush settings to find what works best for your style. Most software allows you to customize brushes for various effects like texture, opacity, and blending modes.
Advanced Tips
1. Calibration
Ensure your tablet is correctly calibrated to your screen. Improper calibration can lead to inaccuracies in your drawings. Use the calibration tool provided by your tablet\’’s software to align the stylus with the cursor accurately.
2. Using a Screen Protector
If your tablet has a screen, consider using a screen protector. It can prevent scratches and provide a paper-like texture, improving your drawing experience.
3. Hotkeys
Learn and use hotkeys in conjunction with your tablet’s customizable buttons. This will significantly improve your efficiency and reduce the time spent looking for tools.
Maintaining Your Graphic Tablet
Regular maintenance of your graphic tablet ensures its longevity. Clean the surface periodically with a soft, dry cloth, and check for software updates to keep your device running smoothly.
Conclusion
Using a drawing graphic tablet on a computer can be a game-changer for digital artists. By following these steps and tips, you can set up, use, and maintain your graphic tablet effectively, unlocking endless creative possibilities.