Introduction
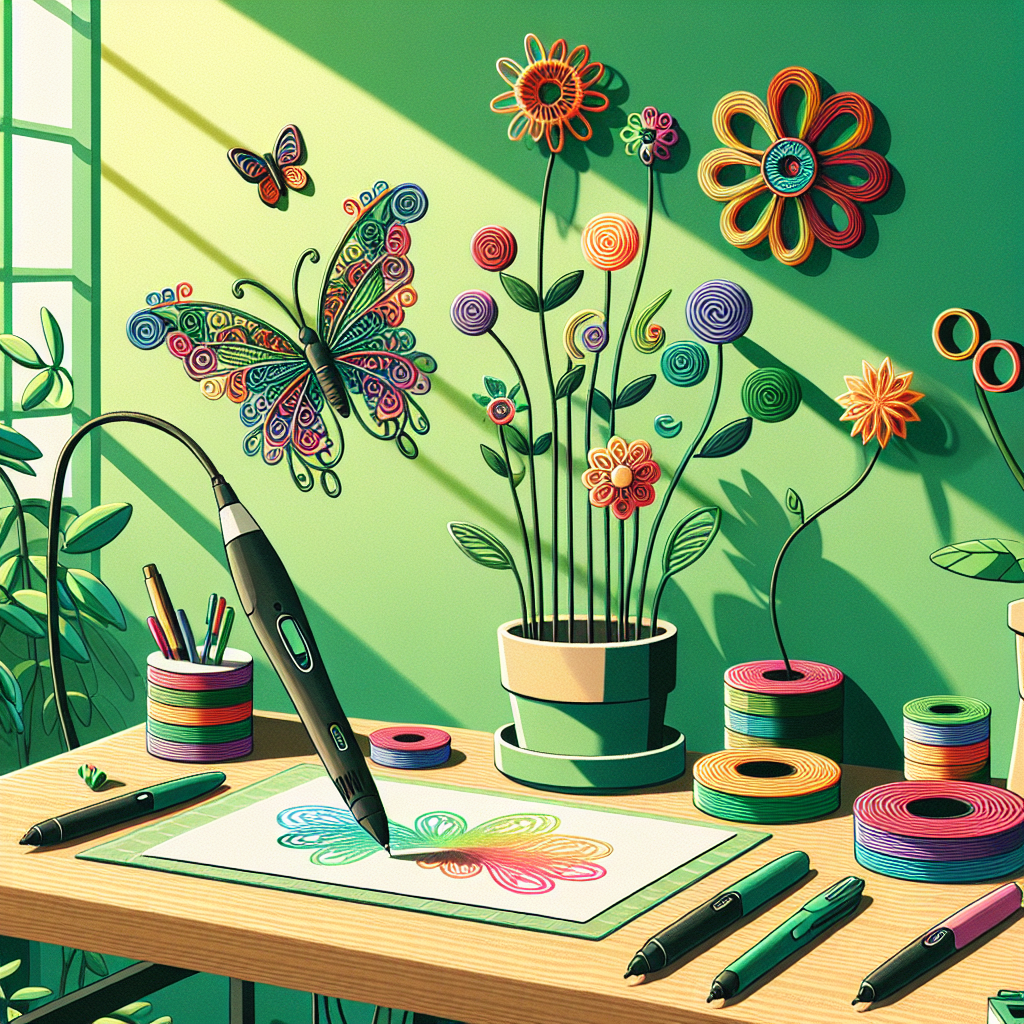
The world of 3D printing has opened up countless possibilities for DIY enthusiasts and gardeners alike. One of the most exciting applications is the creation of decorative plant stakes using a 3D pen. These custom-made stakes not only add a personal touch to your garden but also serve a functional purpose by helping you organize and label your plants. In this comprehensive guide, we will walk you through the process of making your own decorative plant stakes with a 3D pen.
Materials and Tools Needed
Before diving into the crafting process, it’s essential to gather all the necessary materials and tools.
| Material/Tool | Description |
|---|---|
| 3D Pen | A handheld device that extrudes heated plastic filament. |
| PLA Filament | Eco-friendly plastic material used for 3D printing. |
| Graphite Paper | For transferring designs onto a template. |
| Drawing Templates | Pre-made designs or your sketches. |
| Heat-resistant Mat | A surface to work on safely. |
| Scissors | For cutting the filament and other materials. |
| Ruler | For measuring the plant stakes. |
Step-by-Step Guide to Making Decorative Plant Stakes
Step 1: Choose Your Design
Start by selecting a design for your plant stakes. You can either draw your own design or find a template online. Consider designs that are not too intricate, as simpler shapes are easier to work with when using a 3D pen.
Step 2: Transfer the Design
Use graphite paper to transfer your chosen design onto a heat-resistant mat. This will serve as a guide for your 3D pen.
Step 3: Heat the 3D Pen
Plug in your 3D pen and insert the PLA filament. Allow the pen to heat up according to the manufacturer’s instructions. Generally, PLA filament requires a temperature between 350°F to 390°F.
Step 4: Trace the Design
Once the 3D pen is heated, begin tracing the transferred design on the heat-resistant mat. Start with the outline and then fill in the details. If you’re adding any text, make sure it is legible. Take your time and ensure even extrusion of the filament.
Step 5: Create the Stake
After you’ve completed the decorative part, create the stake portion. This can be a simple straight line or a more creative shape, depending on your preference. Make sure it is sturdy enough to support the decorative top and to be inserted into the soil.
Step 6: Assemble the Pieces
If you have made the decorative top and the stake separately, use the 3D pen to weld them together. Ensure the connection is strong to prevent any breakage.
Step 7: Finishing Touches
Allow your plant stake to cool down completely. Once cooled, you can trim any excess filament with scissors for a cleaner look. You may also paint it using acrylic paints if you desire more vibrant colors.
Tips and Tricks
- Practice: If you are new to using a 3D pen, practice on some scrap material before working on your actual design.
- Temperature Control: Ensure your 3D pen is set to the correct temperature for PLA filament.
- Smooth Edges: Use sandpaper to smooth any rough edges.
- Customization: Customize each stake with the name of the plant or add unique designs to reflect your garden’s theme.
Benefits of Using 3D Pen Plant Stakes
- Personalization: Create unique, customized designs tailored to your garden.
- Durability: PLA filament is weather-resistant and biodegradable.
- Cultural Appeal: Adds an artistic touch to your garden, making it more visually appealing.
- Organization: Helps in labeling plants, making it easier to identify them.
Conclusion
Creating decorative plant stakes with a 3D pen is a fantastic way to personalize your garden while honing your crafting skills. The process is straightforward, and with a bit of creativity, you can make beautiful, functional, and lasting garden accessories. Whether you are an experienced gardener or a beginner, these tips will help you create stakes that are not only practical but also add a touch of artistry to your green space.


