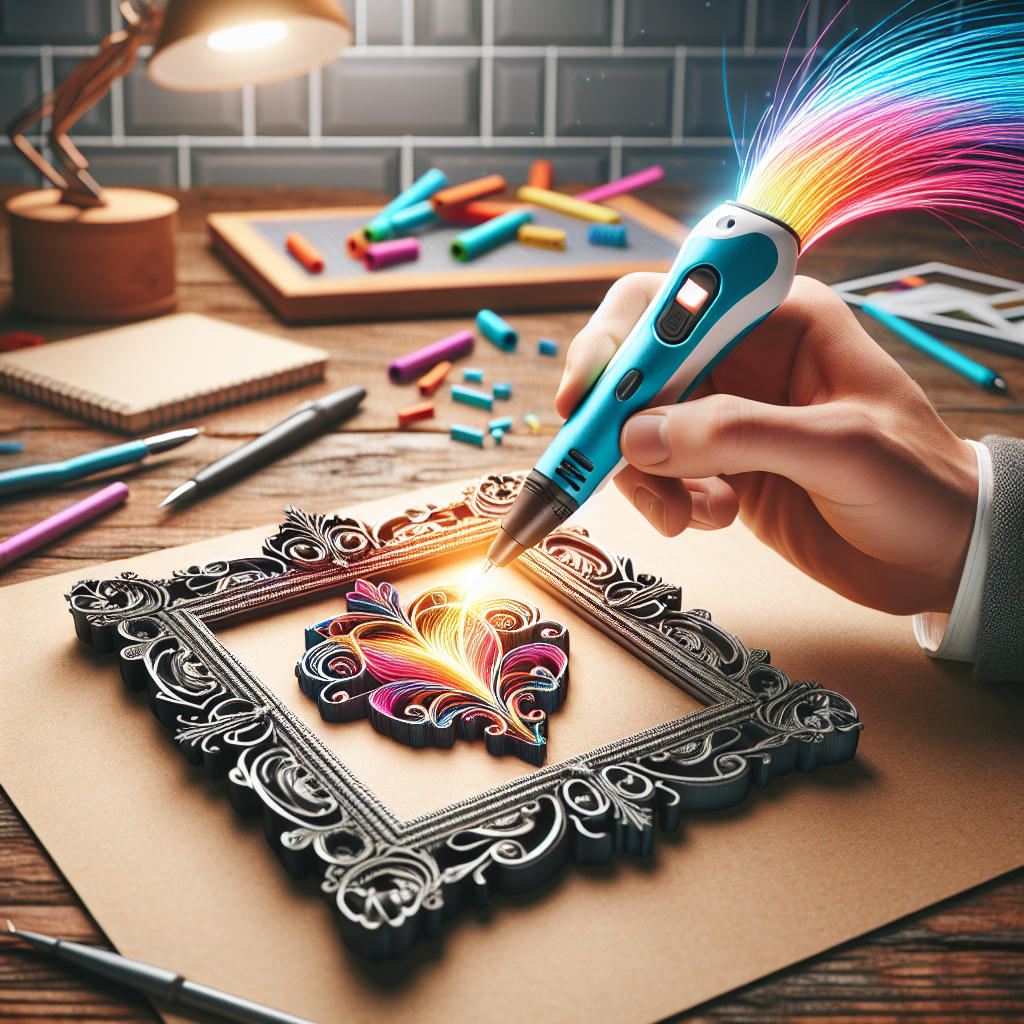
In the world of DIY and crafting, a 3D pen has become a revolutionary tool for creating intricate and customized items. Among the myriad of objects you can design, a custom picture frame stands out as an artistic and functional project. But the question remains: Can you draw a custom picture frame with a 3D pen? The answer is a resounding yes! This article will guide you through the process, offering valuable tips and techniques to ensure your creative endeavor is a success.
Why Use a 3D Pen for Custom Picture Frames?
A 3D pen offers unmatched versatility and ease of use, making it ideal for DIY projects. By using a 3D pen, you can:
- Customize the design to match your taste and decor.
- Create intricate patterns and textures that are hard to achieve with traditional materials.
- Enjoy a fun and creative crafting experience.
Below is a table summarizing the advantages and potential challenges:
| Advantages | Challenges |
|---|---|
| Customization | Learning curve |
| Intricate designs | Durability concerns |
| Cost-effective | Precise handling required |
Materials Needed
Before you start, gather the following materials:
- 3D pen
- Filament (preferably PLA or ABS)
- Template or stencil for the frame shape
- Glass or acrylic sheet (for the photo cover)
- Cardboard or a similar sturdy backing
- Optional: Sandpaper, paint, or varnish for finishing touches
Step-by-step Guide to Creating a Custom Picture Frame
Step 1: Choose or Create a Design
The first step is to decide on the shape and size of your picture frame. You can either draw your design or find a template online. Sketch out the dimensions and any decorative elements you want to include.
Step 2: Prepare Your Workspace
Ensure your workspace is clean and well-lit. Place your template on a flat surface and tape it down to prevent it from moving. If you’re using a glass or acrylic sheet, place it over the template so that you can trace the design with your 3D pen.
Step 3: Begin Tracing the Design
With your 3D pen heated and ready, start tracing the outline of your frame. Take your time to ensure that the lines are even and consistent. It’s essential to go slowly, as rushing can lead to mistakes and uneven lines.
Tip: If you make a mistake, don’t worry. Many 3D pens allow you to re-melt and adjust the filament.
Step 4: Build Up the Frame’s Structure
Once the outline is complete, you can start building up the structure. Use the pen to add layers, making the frame sturdy. If you’re adding decorative elements, now is the time to integrate them into the design.
Step 5: Assemble the Picture Frame
After the frame is built and has cooled, you can assemble it. Place the glass or acrylic sheet in the front and the cardboard backing behind the photo. Secure them in place with small dabs of filament or another adhesive.
Step 6: Finishing Touches
To give your custom picture frame a professional look, you can sand down any rough edges and apply paint or varnish. This step is optional but recommended for a polished appearance.
Common Challenges and Solutions
Challenge 1: Uneven Lines
Solution: Practice tracing straight and even lines on scrap material before starting your project.
Challenge 2: Filament Not Sticking
Solution: Ensure your surface is clean and slightly heated if necessary. Some 3D pens work better on specific surfaces, so testing is crucial.
Challenge 3: Durability
Solution: Build up multiple layers and ensure adequate support structures are in place. Using high-quality filament can also improve durability.
Conclusion
Drawing a custom picture frame with a 3D pen is not only possible but also immensely rewarding. With the right materials and a bit of practice, you can create a unique frame that perfectly showcases your favorite photos. Embrace the creative process and enjoy the craft of handmade artistry.
So, grab your 3D pen, unleash your creativity, and start designing your custom picture frame today!


